A while back I was browsing through other peoples' finished object photos on Ravelry, favouriting all the ones I fancy making. I found a hanging garden planter knitted from green garden twine and knew I needed to have a go at making one. There was no pattern, and I hope the original maker does not mind me using her idea, but here is mine:
s
 s
sI made it for the swap I took part in last month as my swap partner is into gardening and the ladybird button counted as "something spotty".
s
I thought I would write up the pattern and share it with the world.
s
Needles- 4mm dpns
Yarn- Garden twine
s
Hanging flap:
CO 20sts, then working flat
K 1 row
P 1 row
K2, cast off 2 sts, K12, cast off 2 sts, K2
P2, cast on 2 stitches, P12, cast on 2 sts, P2
Work 3 rows stst
s
Main section:
CO 30 sts, divide over dpns and join for working in the round.
Knit every stitch until desired length is reached (this one was about 25 rounds)
s
Bottom decreases:
K3, k2tog for one round
K round
K2, k2tog for one round
K round
K1, k2tog for one round
k2tog for one round
Cut end of twine, thread through sts and pull closed. Weave in yarn ends.
s
The pattern is very adaptable, it can be made any size by altering the number of CO sts and the length made (what you are making is a small upside down hat with a flap for hanging along one side). More holes for planting could be added lower down by casting off the required length on one round then casting on the same number on the next round (as for the hanging holes).
s
s
s
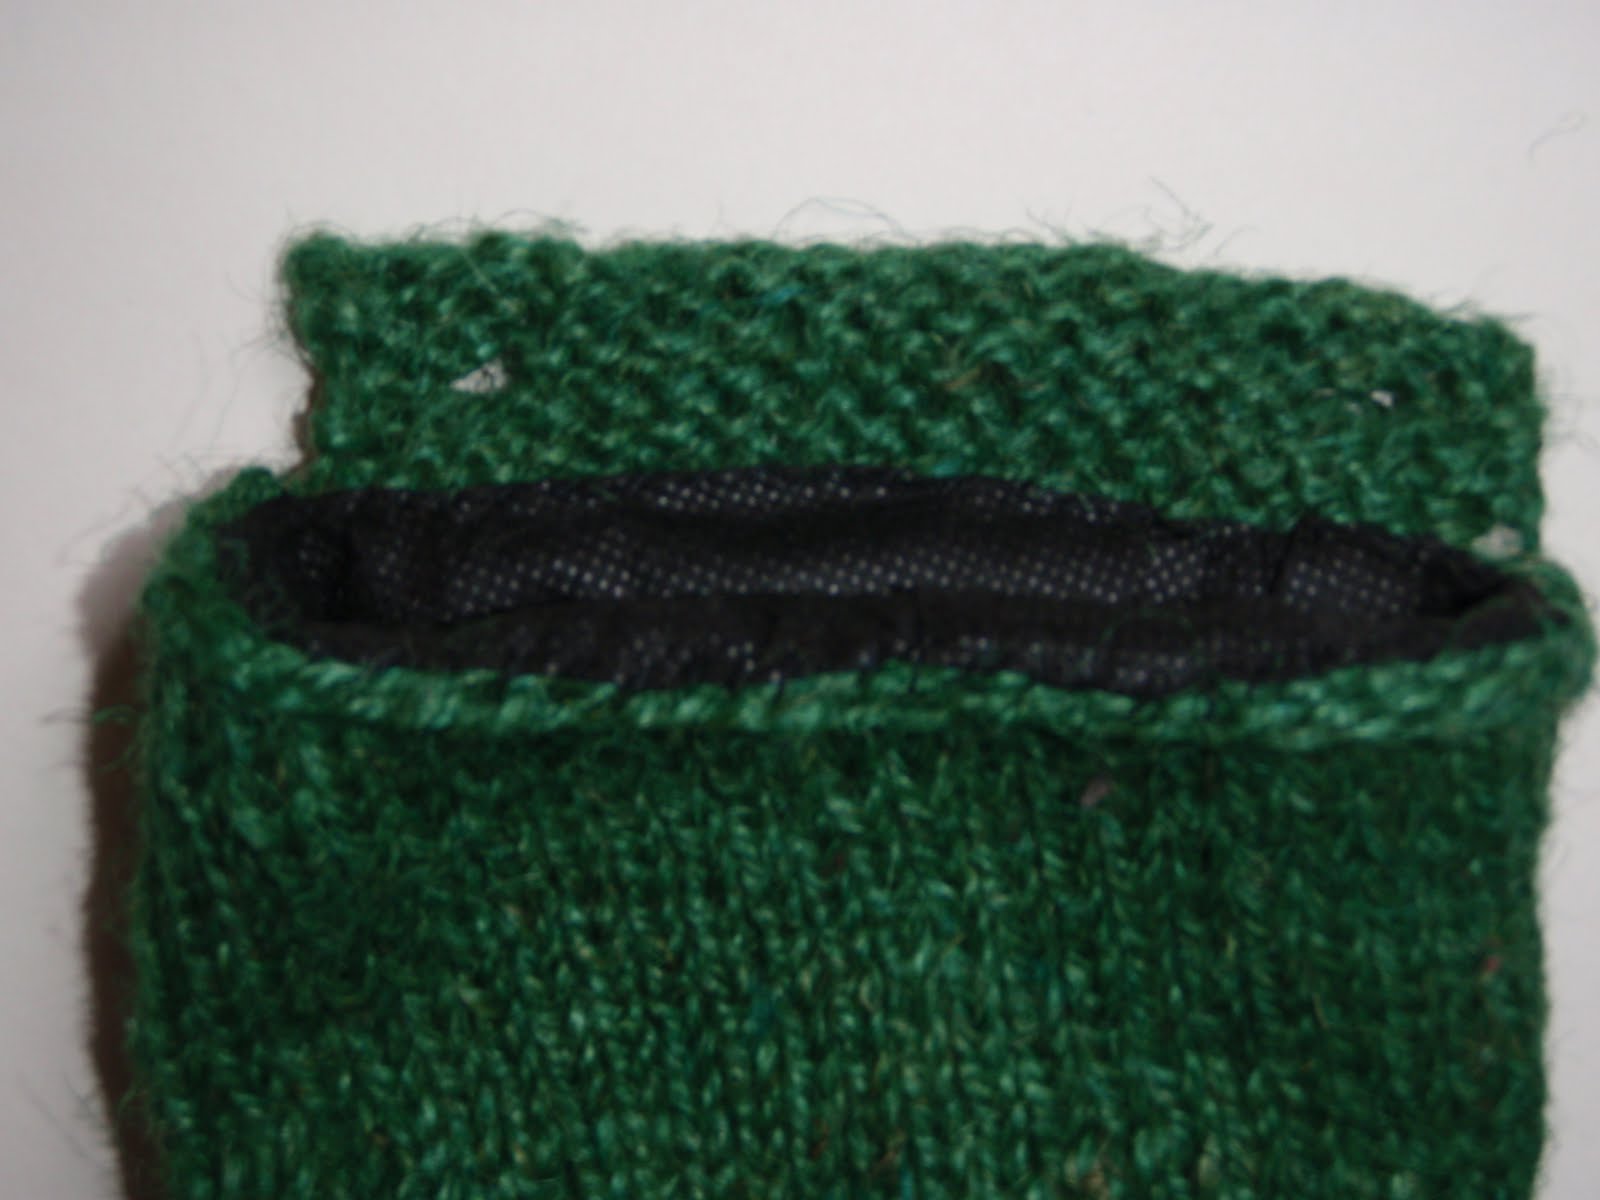
To keep the soil and roots in tidily the knitted panter needs to be lined. This could be a good way to reuse a plastic shopping bag (poke a few holes for drainage). I used some weed control fabric which allows water to drain but should keep the soil and roots in.
s
Cut a big circle of liner, the diameter should be a little more than twice the height of the planter. Scrunch it up and tuck it in, making sure it goes right to the bottom. Fold the rough edge over and oversew around the top to join the liner and planter (this is not essential as the soil will hold it in place if you don't want to sew it).
s
 s
sI added a ladybird button for extra decoration:
s

I love it - can just picture a bigger one with extra holes working as a strawberry or a tumbling tomato planter
ReplyDeleteYep, that is what I was thinking, will make a strawberry one at some point and take some runners later in the year, yum, I love strawberries!
ReplyDeleteI've plants here if you want some - they take over if you let them! Then whent he fruits come the birds and slugs have a feast, no matter what you do.......
ReplyDelete