Showing posts with label pattern. Show all posts

Saturday, 31 March 2012

Thumbs up mitts pattern

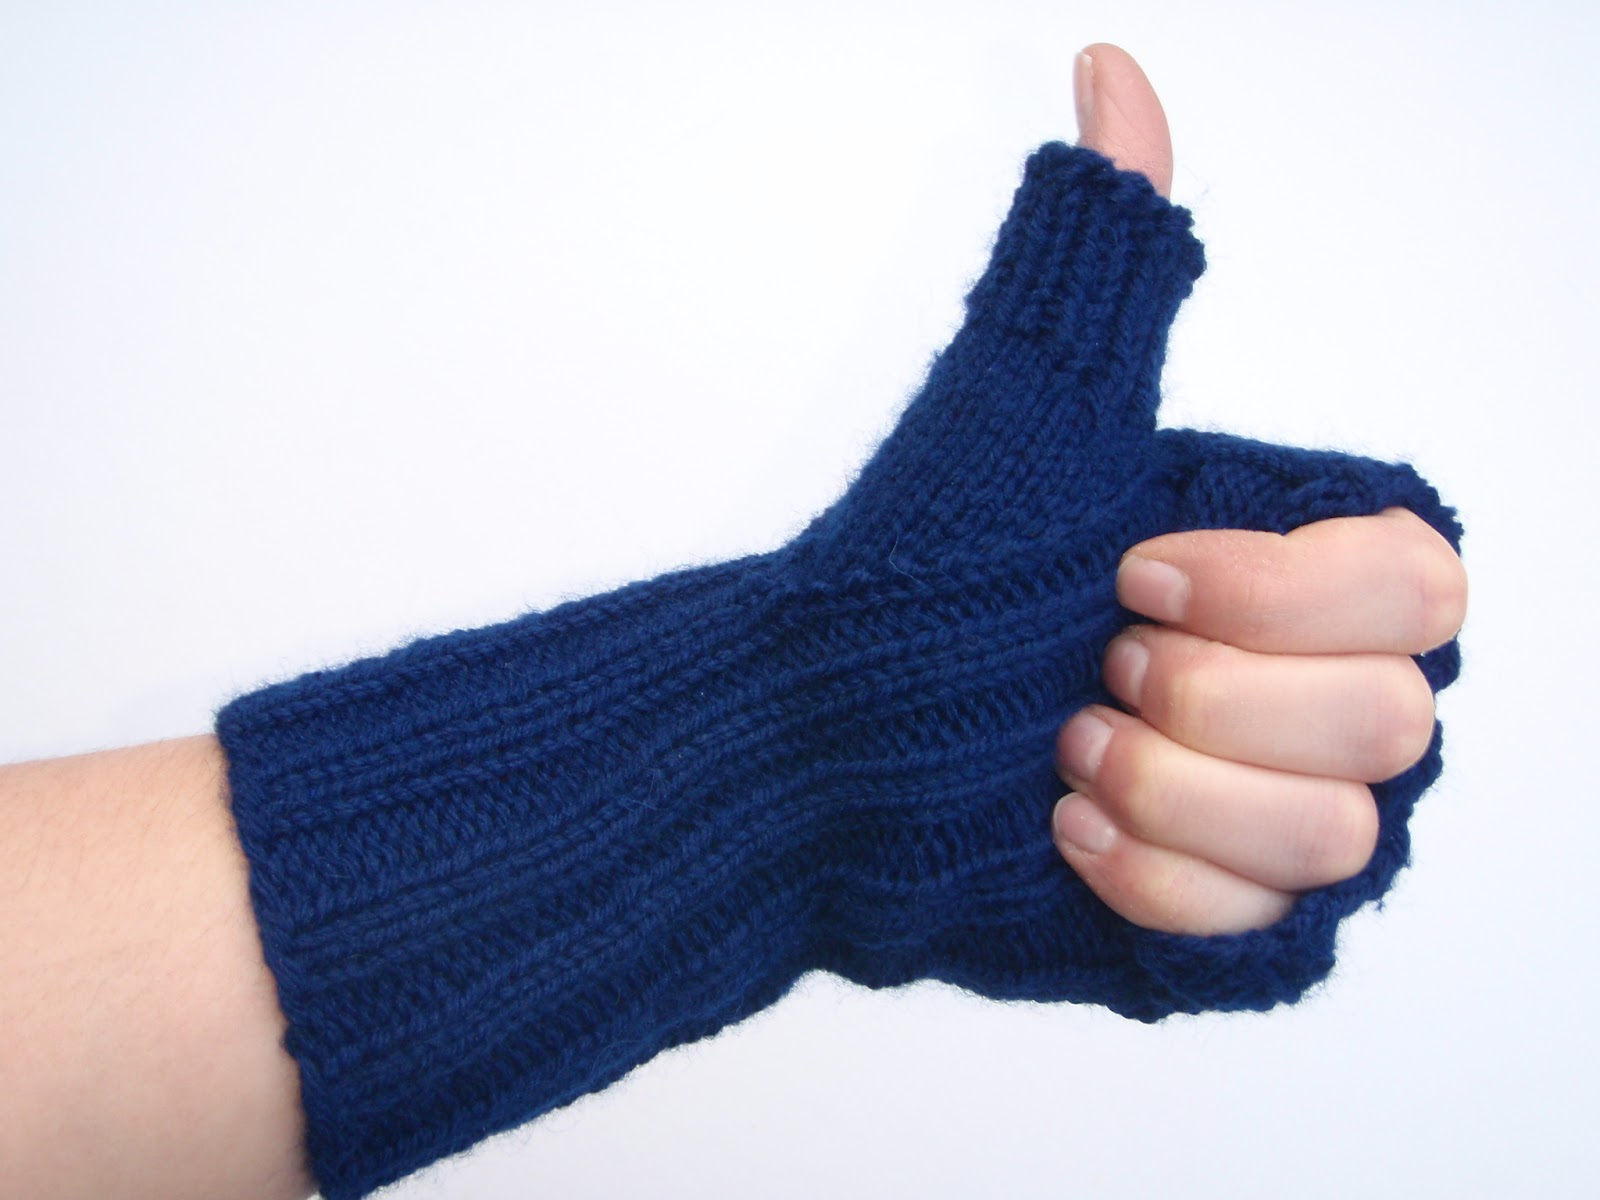
I have my first, proper, downloadable pattern up on Ravelry. It is for a pair of fingerless mitts and you can find it here (for free).


I have linked to a few blog patterns from Ravelry before, but this is the first time I have done a proper write up with testing and a pdf so it is all quite exciting.

I have lots of design ideas on the go. So far they are mostly random scribbles in a notebook. The yarn is purchased for some of them but nothing actually knitted yet, can't wait to get going on them once I have cleared a few WIPs.

Monday, 20 June 2011

Crochet flower pattern

I needed to make some flowers, and having done a few knitted ones that took ages decided it was time to get my crochet on!

I learnt to crochet first, but I think I am much better at knitting, I am never totally sure where to poke the hook. I also forget what each instruction means. 

Having decided to do the flowers crochet style I tried to find a pattern, but couldn't find one I liked/could follow and in the end just made it up as I went along. Then I thought I would share it with you lovely folks, so here it is, apologies for any writing up/terminology errors, this is the first crochet pattern I have attempted.
You will need:
Yarn, I used DK and 4 ply held double but any size you have. This a great project for using up scraps and ends of balls. Colours for the petals, green for the leaf.
Hook, size to suit your yarn, I used a 3.5mm for the DK yarn
4mm knitting needles for leaves if making
Button or felt circle for the centre
Brooch back (optional)

I have not counted the chain on each round as a stitch and they worked out nicely, I think this may relate to my previously mentioned issue of not knowing where to poke the hook. If your hook pokage is rockstar feel free to count the chain as a stitch.

UK crochet terms are used

Large flower:
Chain 6 and join to form a ring
Chain 2, 12 tr into ring, ss into chain to join
Chain 2, 2 tr into each stitch of previous round, ss into chain to join
Chain 2, 1 tr into 1st stitch of round below, two into second stitch. Repeat this around. ss into chain to join
1sc, 1tr, 2dtr into one stitch twice, 1tr, 1sc. Repeat 6 times around, ss to join and finish off by pulling yarn through and sewing in ends.


Small flower:

Chain 6 and join to form a ring
Chain 2, 12 tr into ring, ss into chain to join
Chain 2, 2 tr into each stitch of previous round, ss into chain to join 

1 sc, 1 tr and 1 dtr into one stitch, 1dtr and 1tr into one stitch, sc. Repeat 6 times around, ss to join and finish of by pulling yarn through and sewing in ends.

Leaf:
To make the leaves I used the L e a v e s pattern given by RobinHill here. Make the leaf big enough to poke out from behind the flowers (for the DK flowers I did about 5 increase rows).

Block flowers if desired (I didn't) and sew small flower onto large flower. sew leaf to back and use yarn tail to fix button or felt circle to centre. Sew on brooch back if using.


If you spot any mistakes, would like any more info or find this completely unintelligible please let me know and I will attempt to fix it.
Tuesday, 24 May 2011

Egg pattern

I am making knitted food as a way to use up scraps of yarn, and having made a fried egg thought I needed some unbroken ones.

This pattern owes thanks to Self-striping Easter Eggs by Cathy Merriman, I was originally using that pattern, but the eggs were coming out enormous as I was using DK weight yarn. I made quite a lot of modifications so thought I would put the pattern up here for anyone who wants a realistic(ish) hens egg made in DK.


Supplies:
DK wool in whatever colour you would like your egg to be
Stuffing (fibrefill, wool scraps etc)


2.5mm needles for knitting in the round, whatever method you prefer
Tapestry needle


CO 8 sts and join for knitting in the round.
Rnd 1: k all sts
Rnd 2: K1 kfb around
Rnd 3: k all sts
Rnd 4: kfb all sts
Rnd 5: k all sts
Rnd 6: k2 kfb around
Rnds 7-21: k all sts
Rnd 22: k6 k2tog around
Rnd 23:k all sts
Rnd 24: k all sts
Rnd 25: k5 k2tog around
Rnd 26: k all sts
Rnd 27: k all sts


Begin stuffing at this point


Rnd 28: k4 k2tog around
Rnd 29: k all sts
Rnd 30: k3 k2tog around
Rnd 31: k all sts


Add a little more stuffing if needed


Rnd 32: k2 k2tog around
Rnd 33: k1 k2tog around


Cut yarn leaving a tail long enough for sewing up. Use tapestry needle to thread tail through remaining sts, pull tight and finish off. Weave in cast on tail.


Thursday, 14 October 2010

Fishy Wishy

Great for using up scraps of yarn. This pattern is based on Frida the Fish by Lion Brand Yarn but converted to work in the round and with different fins.
s
s
Yarn weight and needle size do not matter for this project, use needles which give a dense fabric to stop the stuffing coming through. Thicker yarns will give a bigger fish. The fish in the photo is made from double knit yarn and is about 10cm/4" long.

To make a fishy wishy you need:
Small amount of yarn in your choice of weight plus contrasting colour for fins.
Needles of appropriate size (see above)
Stuffing
Tapestry needle
Safety eyes/googly eyes/embroidery thread

If making for a pet or child make sure eyes and fins are firmly and safely attached/worked.

Top fin:
Cast on 30 sts loosely (single cast on works well)
*k3tog, p3tog* repeat to end
*k1, p1* repeat to end for 3 rows
Cast off

Side fin (make 2):
Cast on 15 sts loosely
*k3tog, p3tog* repeat to end
p1, k1, p1, k1, p1
k1, p1, k1, p1, k1
p1, k1, p1, k1, p1
k1, p1, k1, p1, k1
Cast off

Body:
Cast on 9 sts leaving a 15cm/6" tail of yarn and divide over 3 dpns (3 sts on each).
k all sts
Increases:
Round 1: kfb first stitch on needle, k to last stitch, kfb. Repeat on needles 2 & 3.
Round 2: K all sts
Repeat rows 1 & 2 to 57sts or desired size
k all sts for 5 rounds
s
Decreases:
Round 1: k2tog, k to last 2 sts on needles, ssk. Repeat on needles 2 & 3.
Round 2: k all sts
Repeat rows 1 & 2 to 27 sts.
Stop and add eyes, sew on fins. Use cast on tail to close hole at mouth end. Begin stuffing the body.
Continue with decrease rounds to 9 sts, adding stuffing as you go.

Tail: (worked on 9sts from body)
k1, kfb, k1. Repeat on needles 2 & 3.
*k1, p1* repeat around
*kfb, p1* repeat around
*k2, p1* repeat around
*k2, pfb* repeat around
*k2, p2* repeat around. Repeat until tail is desired length.
Cast off leaving a 15cm/6" tail.
Thread yarn tail onto a tapestry needle and work yarn through tail fabric to point where the body and tail meet. Use tail to tighten join and ensure no stuffing can escape. Work yarn end into fabric and trim.

Attach eyes and fins if not already done.

Why Fishy Wishy? Because of this :D. Feel free to dance around waving your completed fishy as you listen.

Thursday, 5 August 2010

Mousey pattern

s
I posted this mousey as a FO a while back, and someone asked for the pattern. It is based on the one from the catwarming set by Michelle Ameron in the stitch and bitch book, but I altered it to work in the round and reduced sewing together of pieces.
s
What you need:
Yarn
Stuffing
Embroidery thread
Needles for working in the round, I used dpns but it should be workable for other methods.
s
I have not given a yarn type, needle size or gauge as this pattern is ideal for using up scraps and the needle required is whatever gives anice firm fabric that the stuffing does not poke through (I used DK yarn and 3mm needles).
I opted for acrylic yarn and polyester toy stuffing rather than using wool and wool scraps, this has two advantages- it can be thrown in the wash and I did not want the cat to get a taste for wool!
ss
There are two options for the ears, either make them seperately first or leave a REALLY (really really) long tail when you cast on to make them from, this allows the whole toy to be made from one length of yarn so there are no sewn on bits to fall off.
s
Ears (make 2):
CO8 sts
Work 4 rows stst
k2tog across row
Cut yarn and thread through sts and tie, leave tail for sewing on.

Body:
CO 3sts (remember to leave a long tail if you are doing the ears that way)
Working as for I-cord k one rnd
Use a new needle to kf&b of first st, repeat for each st. You should now have 6sts spread across 3 needles.
rnd 3 and all odd rnds k all sts
rnd 4: Kf&b twice, k2 kf&b twice
rnd 6: k2, (kf&b, k1) 4 times
rnd 8: (k2, kf&b) twice, k2, (kf&b, k2) twice
rnd 10: (k3, kf&b) twice, k2, (kf&b, k3) twice
rnd 12: (k4, kf&b) twice, k2, (kf&b, k4) twice
Continue increases as above until mouse is desired size
s
k all sts for approx 2.5cm/1 inch.
Add ears in desired position, either:
Firmly sew on pre made ears- weave the yarn tail down the edge of the ear and use to sew onto body.
or
Thread cast on tail into a tapestry needle, bring needle in through nose and up in ear position. Bring yarn over a spare needle and back into work. Repeat to make 8 loops over the needle along the line of the ear. Bring the yarn back out and work the sts as for the ear above.
When you have finished the first ear weave the tail back down the edge of the ear, into the body and repeat process for the second ear. Tie the end off firmly inside the body.
s
Use the embrodiery thread to add nose and eye details if desired.
s
Continue knitting body as before until it is your desired length.
s
Stuff the mouse quite firmly then close the body as follows:

rnd 1: (k2, k2tog) repeat around round
rnd 2: k all sts
rnd 3: (k1, k2tog) repeat around round
rnd 4: k all sts
rnd 5: (k2tog) repeat round round
s
Depending on the size of the mouse as determined by the increases made additional decrease rounds may be required, repeat rnd 5 until 3 or 4 sts remain.
s
Work remaining sts as I-cord to create the tail. When tail is desired length cast off and sew in ends.
s
Give to cat as bribery to stay away from your stash.


Tuesday, 29 June 2010

Book review- Stitch N' bitch Nation

I think most people that knit must have heard of the Stitch N' bitch books. I am not sure if they can totally be credited with making knitting cool thingy that happened a few years ago, but I think they definitely helped (lets face it, its always a giggle to say bitch with a legitimate excuse). I bought the first book for my sister when she was learning to knit, and the second for myself about a year later when I was learning.
s
s
I picked this up because shortly after learning I wanted to make a sweater. I rather liked the Jessie's Flames pattern so I bought the book, I still haven't made it but have used the book for quite a few other things.
s
So what do you get:
  • I think the best bit of this book is the first section which tells you about altering knitting patterns to fit or to get them the way you want. Instructions for changing the sizes and adding/removing details are all in there, which is definitely useful.
  • There are a good helping of patterns, as always with books there will be some you like and some you don't, I've made a handful, although that might be because I had the book if you see what I mean.
  • Scattered through the book are little helpful hints and ideas, like how to make sock blockers, ideas for using the ball band to help you out. I love these, very useful.
  • There are also a few pages telling the stories of some stitch and bitch groups that have been set up, these are kinda nice to read but once you have read them that's them done with, also as it is an American book it is obviously focused on groups from the US.
  • At the back there is a section giving a little refresher course on the basic techniques, I found this very helpful as I was still learning and kept forgetting what instructions meant, having a hard copy meant I didn't have to start up the computer and google it every time.
The writing style is fun and cheery, very easy to read and follow. The price is also pretty good, especially if you have a look around at the various book sellers.
s
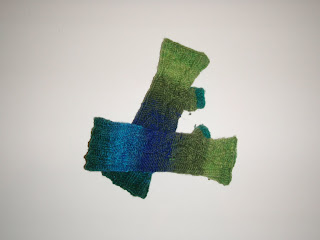
I made these arm warmers as one of my first projects with decent yarn using a pattern from the book:

Overall the book is useful, but really for beginners/early stage knitters. Would recommend it if you fall into this category or if you like the patterns. I can never bring myself to buy pattern books unless there are a lot of things I will make- got to balance that project to bookshelf space ratio!

There are quite a few others in the range as well- the original, a crochet option, one with patterns for men and an "extreme" one, not had a rummage through those yet!

Tuesday, 25 May 2010

Garden planter pattern

A while back I was browsing through other peoples' finished object photos on Ravelry, favouriting all the ones I fancy making. I found a hanging garden planter knitted from green garden twine and knew I needed to have a go at making one. There was no pattern, and I hope the original maker does not mind me using her idea, but here is mine:
s
s
I made it for the swap I took part in last month as my swap partner is into gardening and the ladybird button counted as "something spotty".
s
I thought I would write up the pattern and share it with the world.
s
Needles- 4mm dpns
Yarn- Garden twine
s
Hanging flap:
CO 20sts, then working flat
K 1 row
P 1 row
K2, cast off 2 sts, K12, cast off 2 sts, K2
P2, cast on 2 stitches, P12, cast on 2 sts, P2
Work 3 rows stst
s
Main section:
CO 30 sts, divide over dpns and join for working in the round.
Knit every stitch until desired length is reached (this one was about 25 rounds)
s
Bottom decreases:
K3, k2tog for one round
K round
K2, k2tog for one round
K round
K1, k2tog for one round
k2tog for one round
Cut end of twine, thread through sts and pull closed. Weave in yarn ends.
s
The pattern is very adaptable, it can be made any size by altering the number of CO sts and the length made (what you are making is a small upside down hat with a flap for hanging along one side). More holes for planting could be added lower down by casting off the required length on one round then casting on the same number on the next round (as for the hanging holes).
s
s
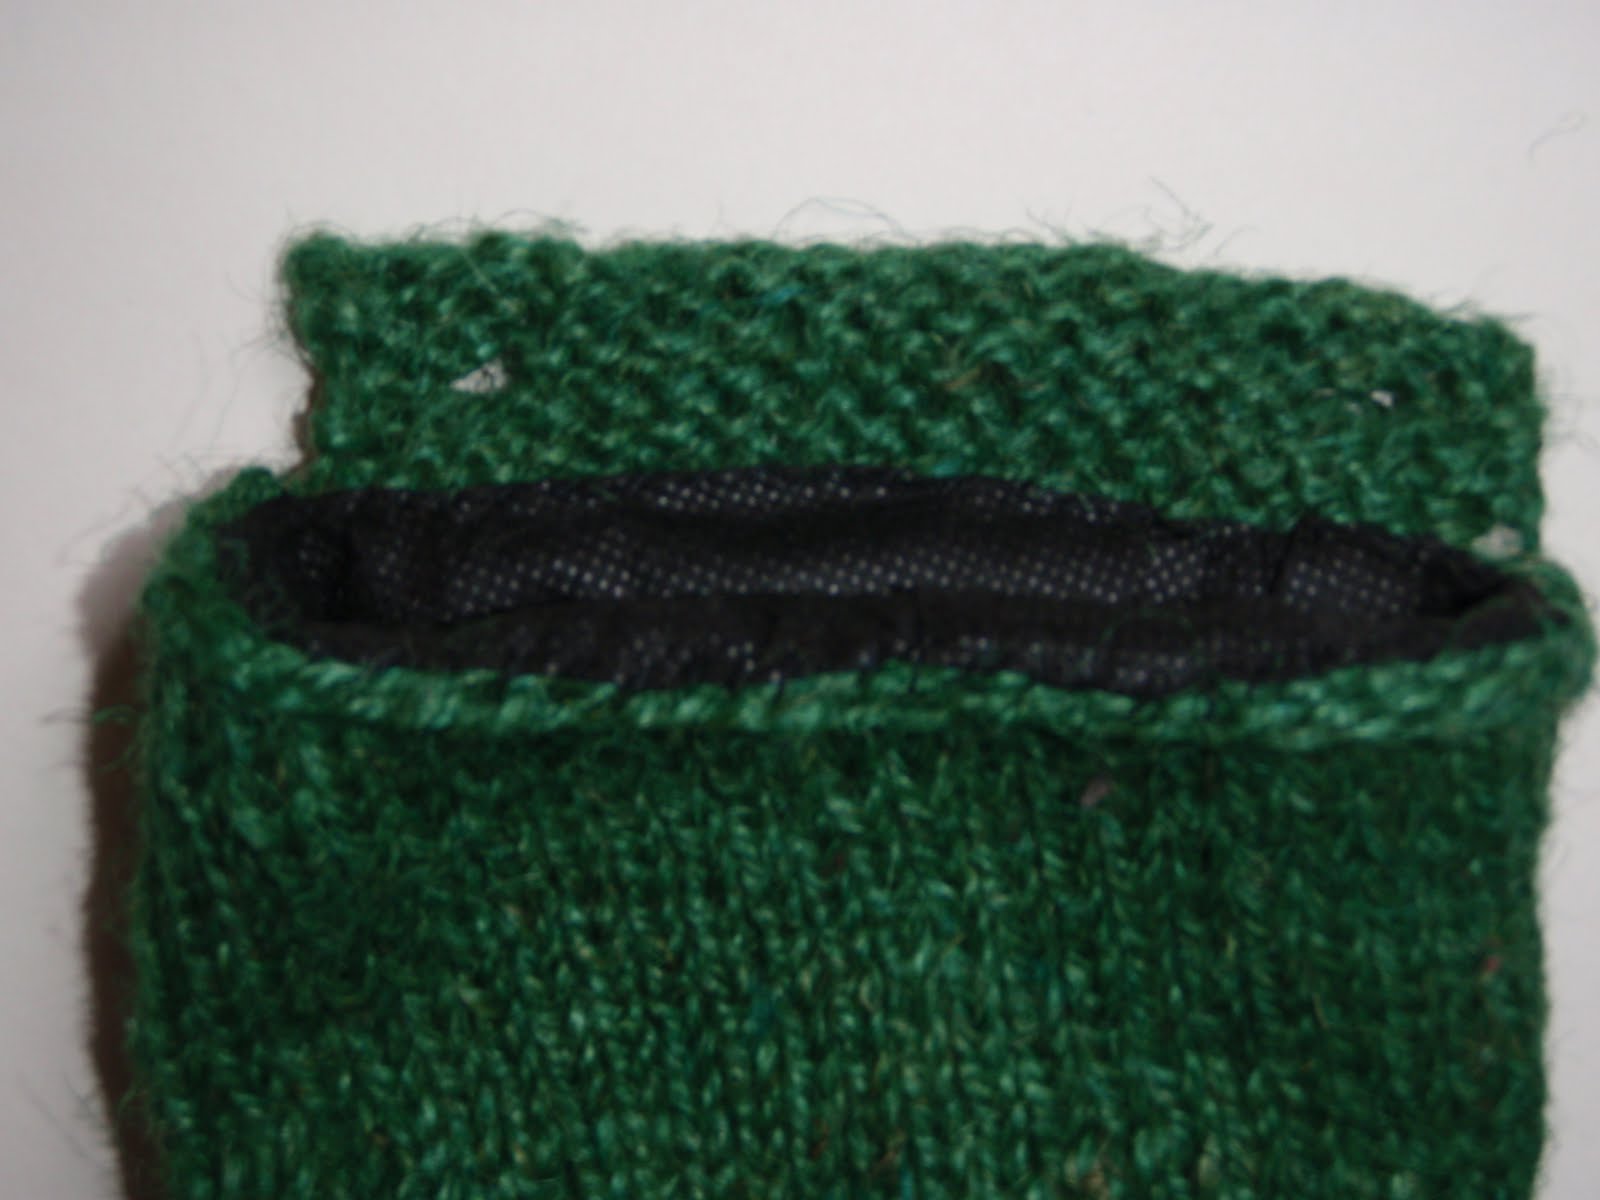
To keep the soil and roots in tidily the knitted panter needs to be lined. This could be a good way to reuse a plastic shopping bag (poke a few holes for drainage). I used some weed control fabric which allows water to drain but should keep the soil and roots in.
s
Cut a big circle of liner, the diameter should be a little more than twice the height of the planter. Scrunch it up and tuck it in, making sure it goes right to the bottom. Fold the rough edge over and oversew around the top to join the liner and planter (this is not essential as the soil will hold it in place if you don't want to sew it).
s
s
I added a ladybird button for extra decoration:
s